
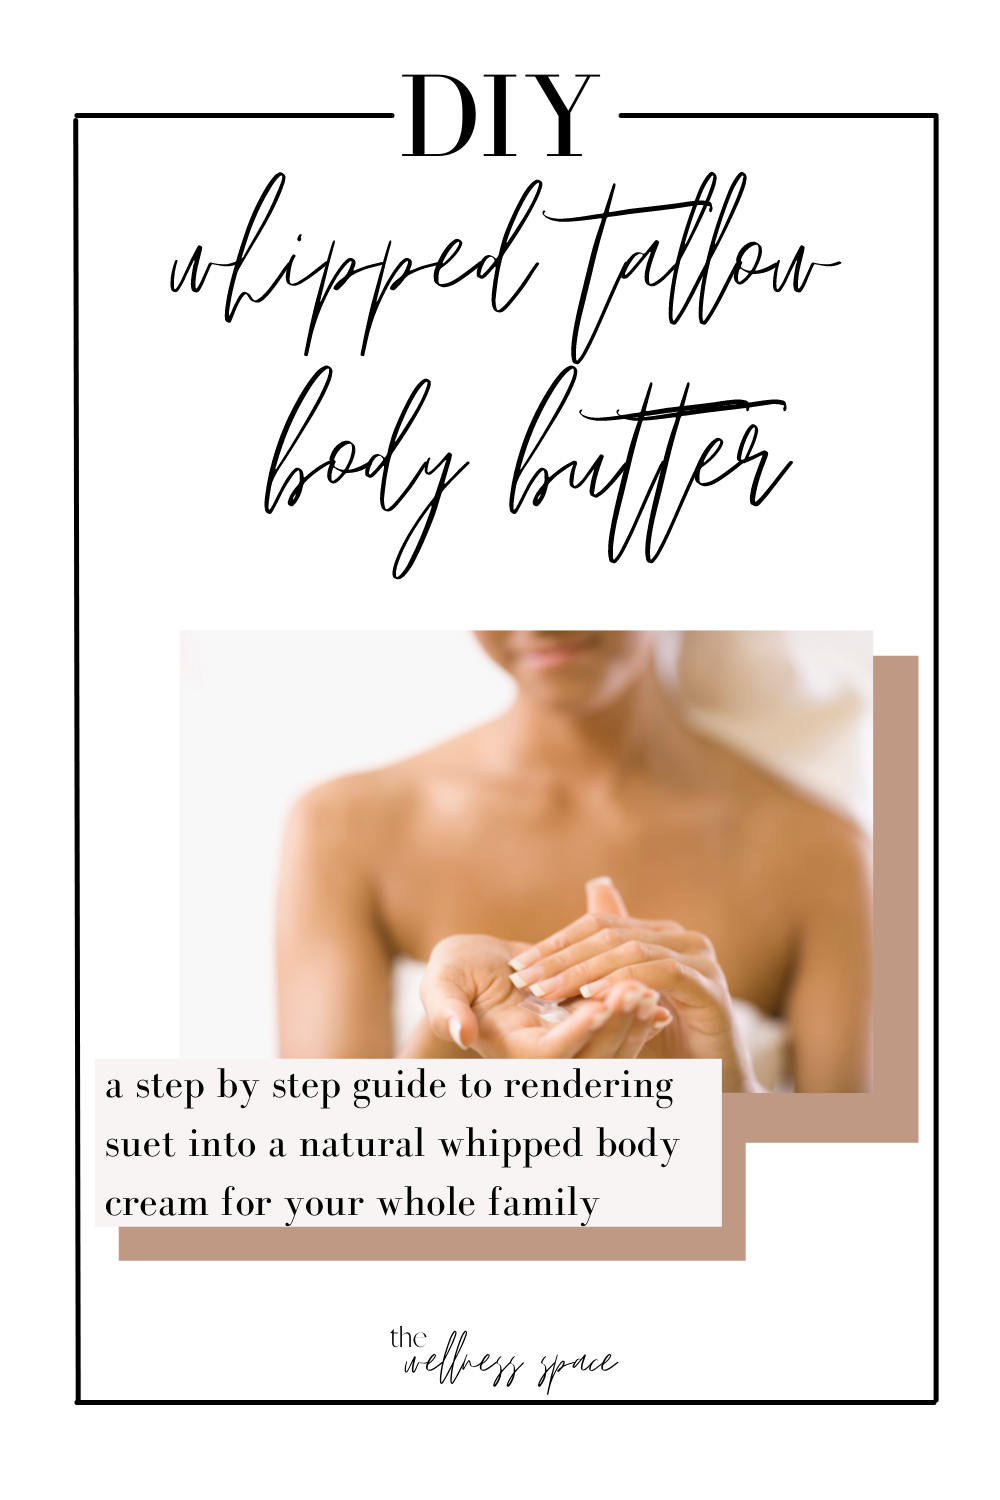
DIY : Whipped Tallow Body Butter Recipe

Ready for a more natural, non-toxic approach to skin care?
Tallow has become one of my skincare essentials. It is nourishing, affordable, and easy to DIY!
This last year I discovered my favorite skin care product: tallow.
If you’re like me at first and have no idea what that is, it’s rendered beef fat, specifically suet- or the fat located around the kidneys. It is high in vitamins and fatty acids, has a similar oil composition to the skin, which makes it quick to absorb into the skin without leaving behind a greasy feeling.
I use it for everything. Body butter. My daughter’s diaper rash cream. Makeup remover. Helping to treat my kid’s eczema. And it has been my secret weapon in treating keratosis pilaris. It truly is an amazing product for so many skin conditions.
What are the Benefits of Tallow?
Nutrient Rich — tallow from grassfed cattle is packed with vitamins A, D, K , E + B12. These vitamins are only naturally occurring together in animal products. Vitamin A encourages the production of collagen and elastin- keeping the skin firm and smooth. Vitamin D helps the skin repair and protect against free radicals. Vitamin K helps with skin texture, tone, and reduces inflammation. Vitamin E is an antioxidant the protects against free radicals and can promote skin healing.
Contains conjugated linoleic acid (CLA)— anti-inflammatory and antimicrobial
Fatty acids —omegas 3 + 6 are available in a ratio similar to the membrane of human cells- making it easily absorbed and deeply moisturizing. Palmitoleic acid is an active anti-microbial and building block to our skin, palmitic acid helps the skin’s texture and integrity, and both of these progressively decrease as we age!
It’s affordable!- Last year we bought half of a cow with some friends and asked for the fat when we picked up the meat. I still have beef fat in my freezer that I am not sure what I am going to do with because there was so much. If you have a local farm, you could also purchase suet from them directly. I have done this before as well and it was only a few dollars per pound.
Compared to skincare and beauty products, this is so much more affordable!
Tallow for Cystic Acne
I have shared my cystic acne story on the blog before but the short version is this- back in 2019, i began struggling with cystic acne. That was on top of dealing with amenorrhea, anxiety, inflammation, poor digestion, and migraines. That was truly the “breaking point” for me that propelled me into wanting to get to the root cause of my symptoms and treat them once and for all.
Part of this included cleaning out all of my health, beauty and skincare products. With the cystic acne, I was trying all sorts of harsh products to try and minimize the painful blemishes… and nothing worked. Because it wasn’t a topical issue. It was a culmination of my stressful lifestyle, poor nutrition, inadequate sleep, toxin overload, and trying to “push through” my symptoms.
Instead of having dozens of products that kind of worked, I wanted just a couple that really worked (and were good for me!) This is when I discovered tallow. After some research, I found how nourishing it was for the skin and I learned how easy it was to make!
I ordered some suet from my local farm, rendered it into tallow, and began experimenting with it for my skin. I remember being shocked at how well it worked. I was using it as a makeup remover and moisturizer at night on my face, and then found it also worked great getting rid of the keratosis pilaris on my arm!
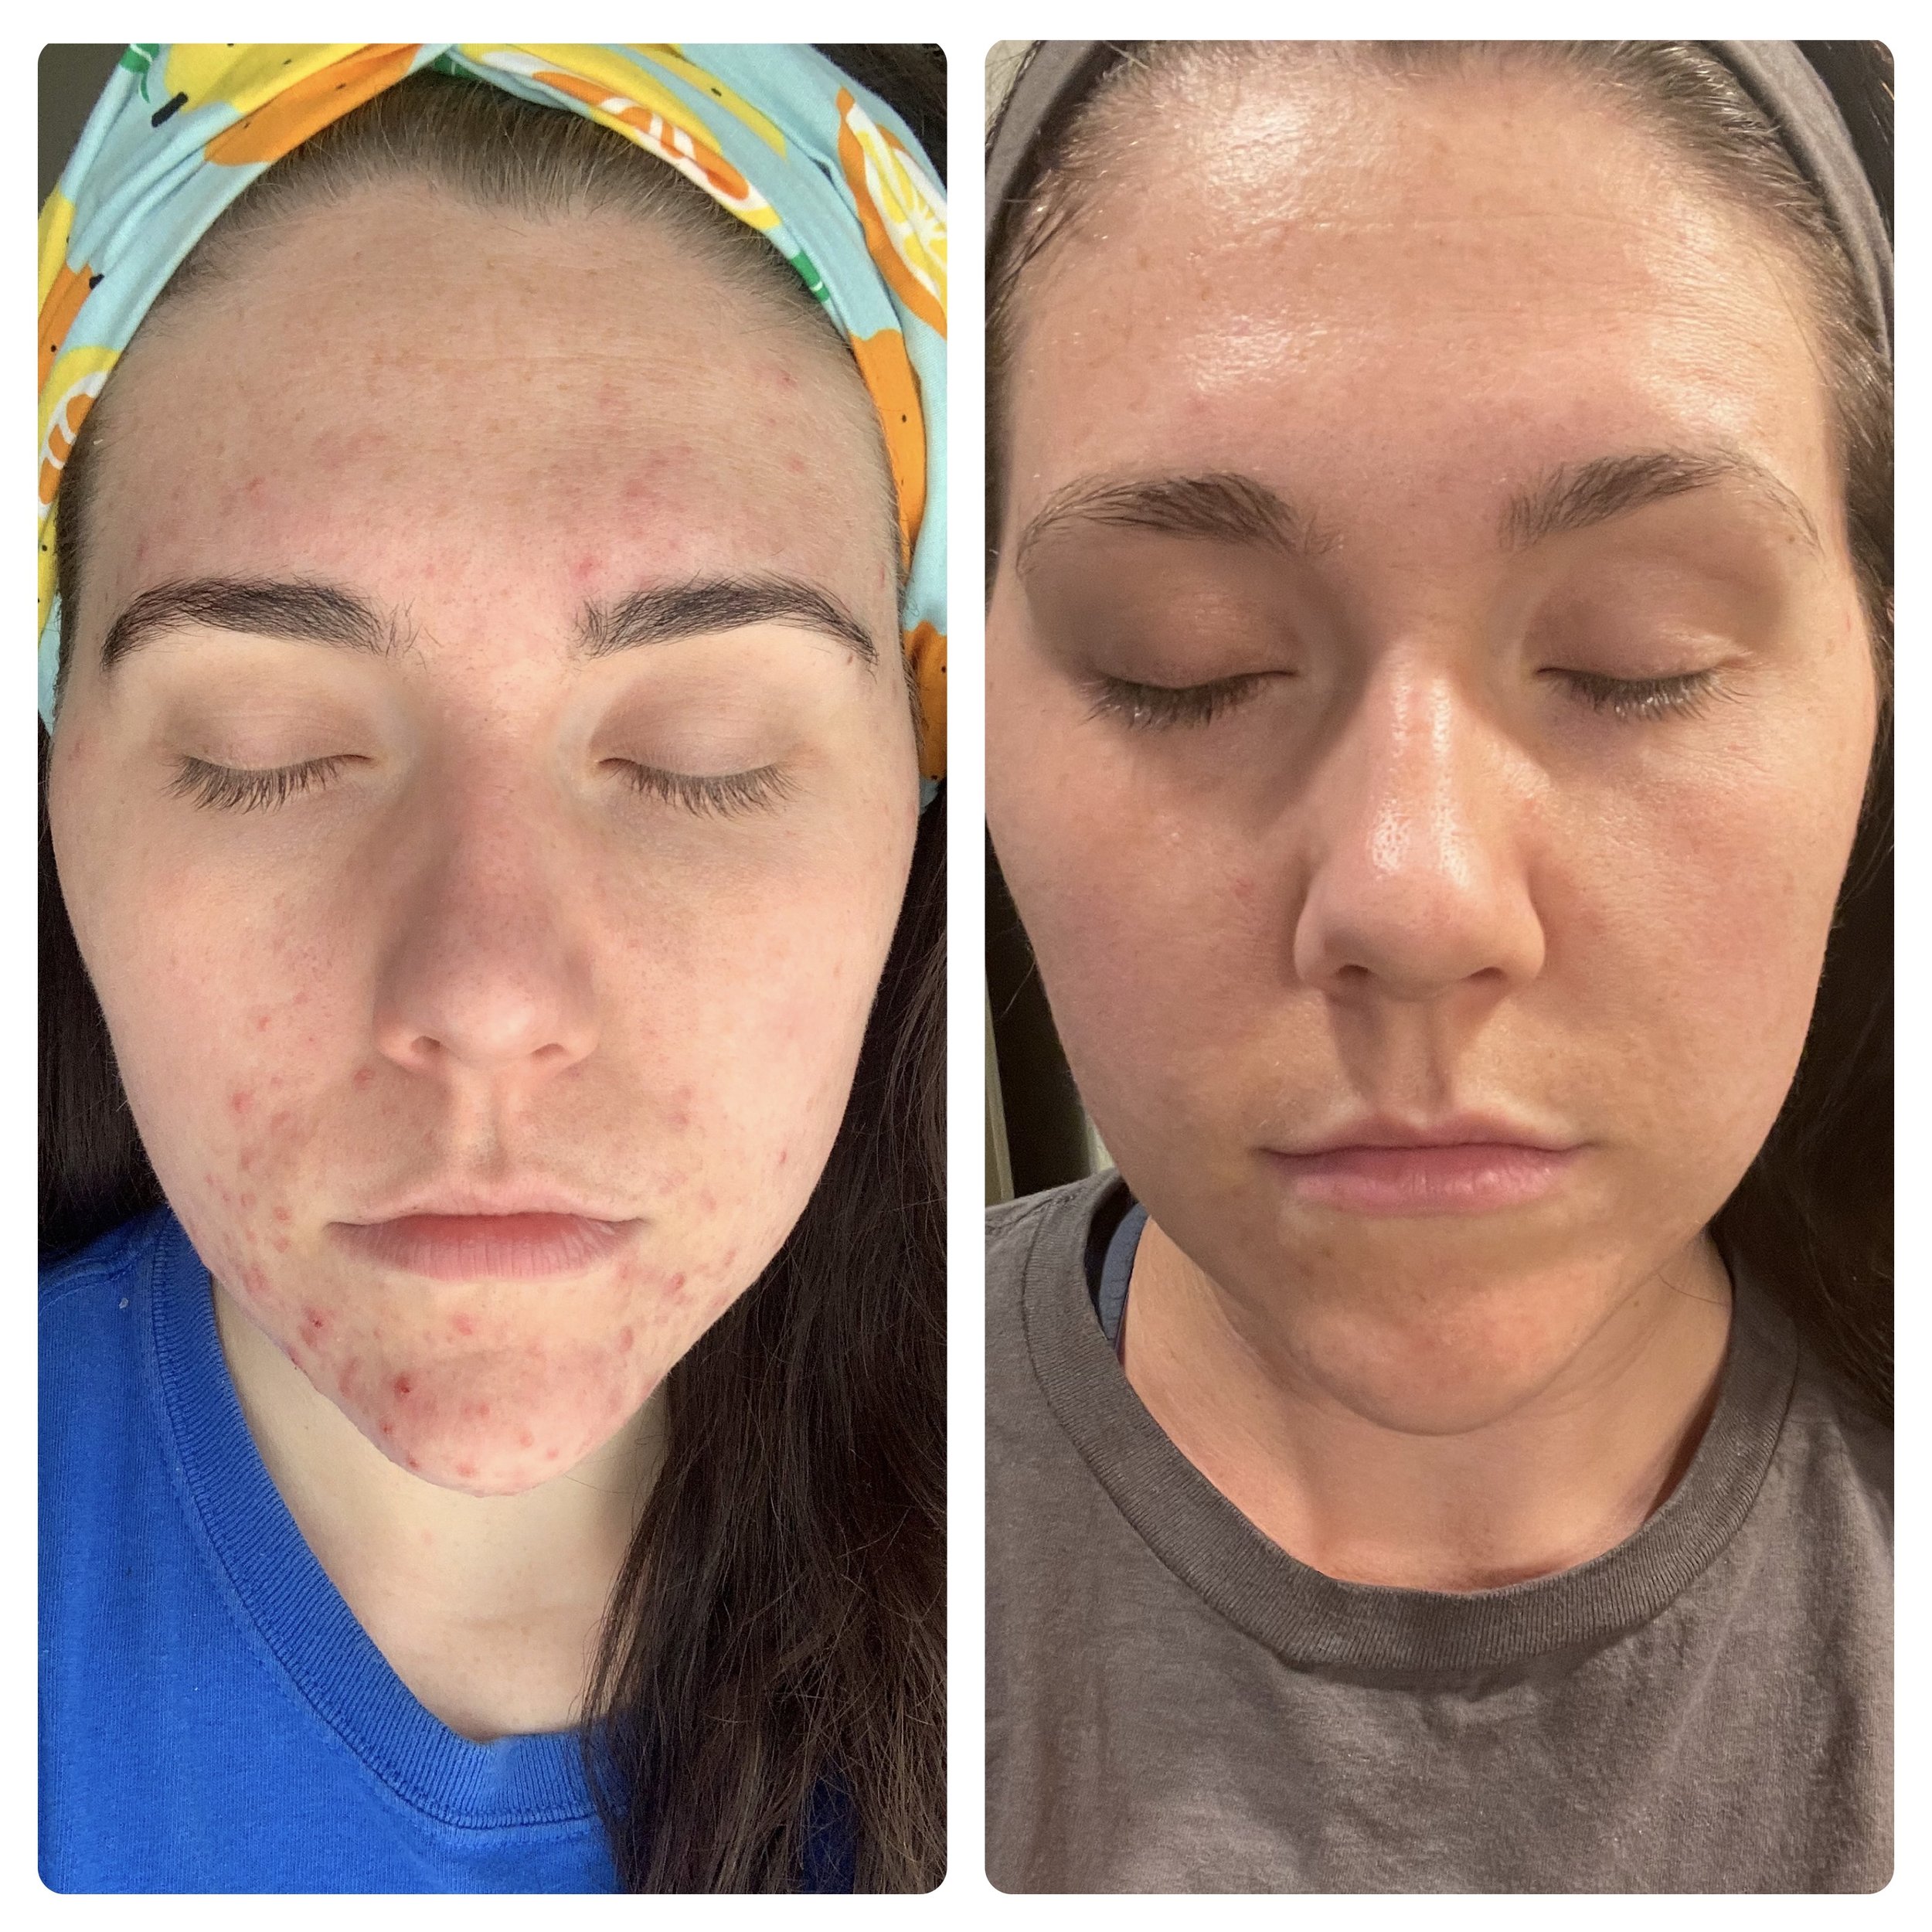
before and after of taking a holistic approach to my cystic acne. I still have the occasional small breakout, but nothing like the swollen, inflammed, and painful break outs I used to deal with!
Slowly my cystic acne began to become less inflamed, my face was less irritated in general, and I could tell my body was healing. Granted, i know that the tallow was not the “cure all”- i was practicing stress management, completely revamped my nutrition, focusing on mineral and supplement support, detoxing from unhealthy chemicals, and so much more that was tackling the actual root cause- but unlike some of the other topical products I was using, the tallow didn’t make it worse. Instead, it supported and nourished my skin barrier.
Related reads:
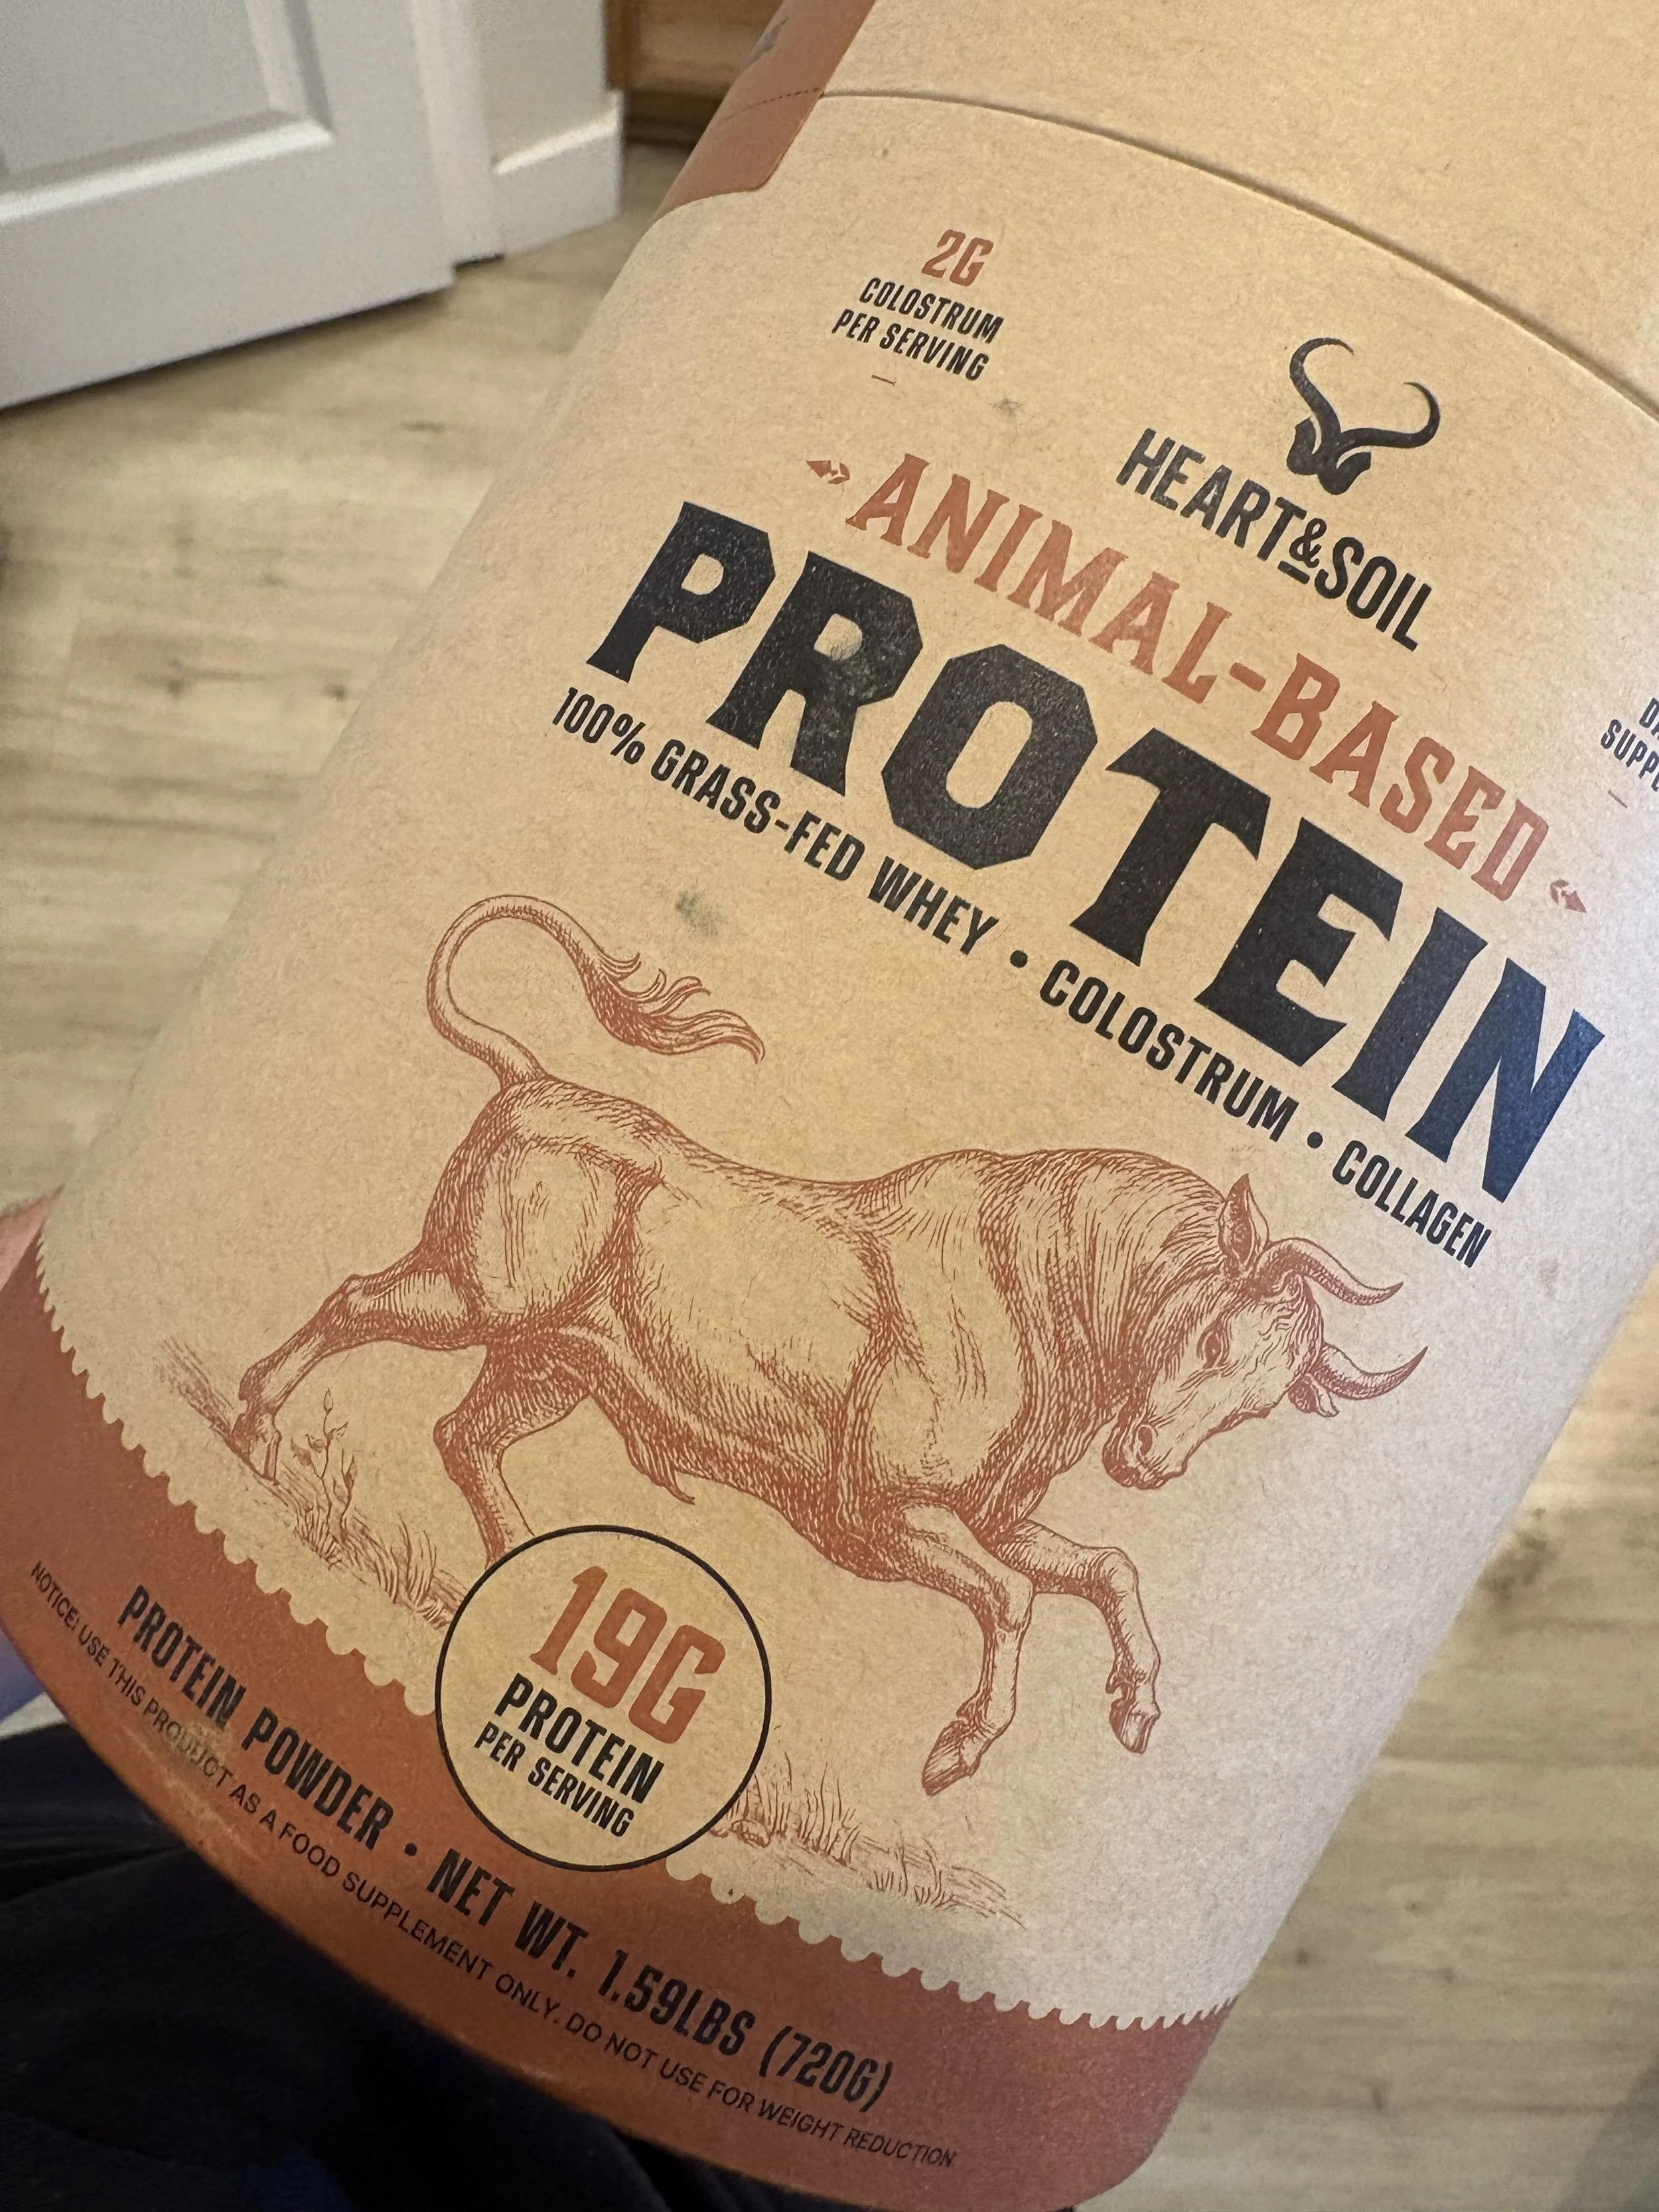
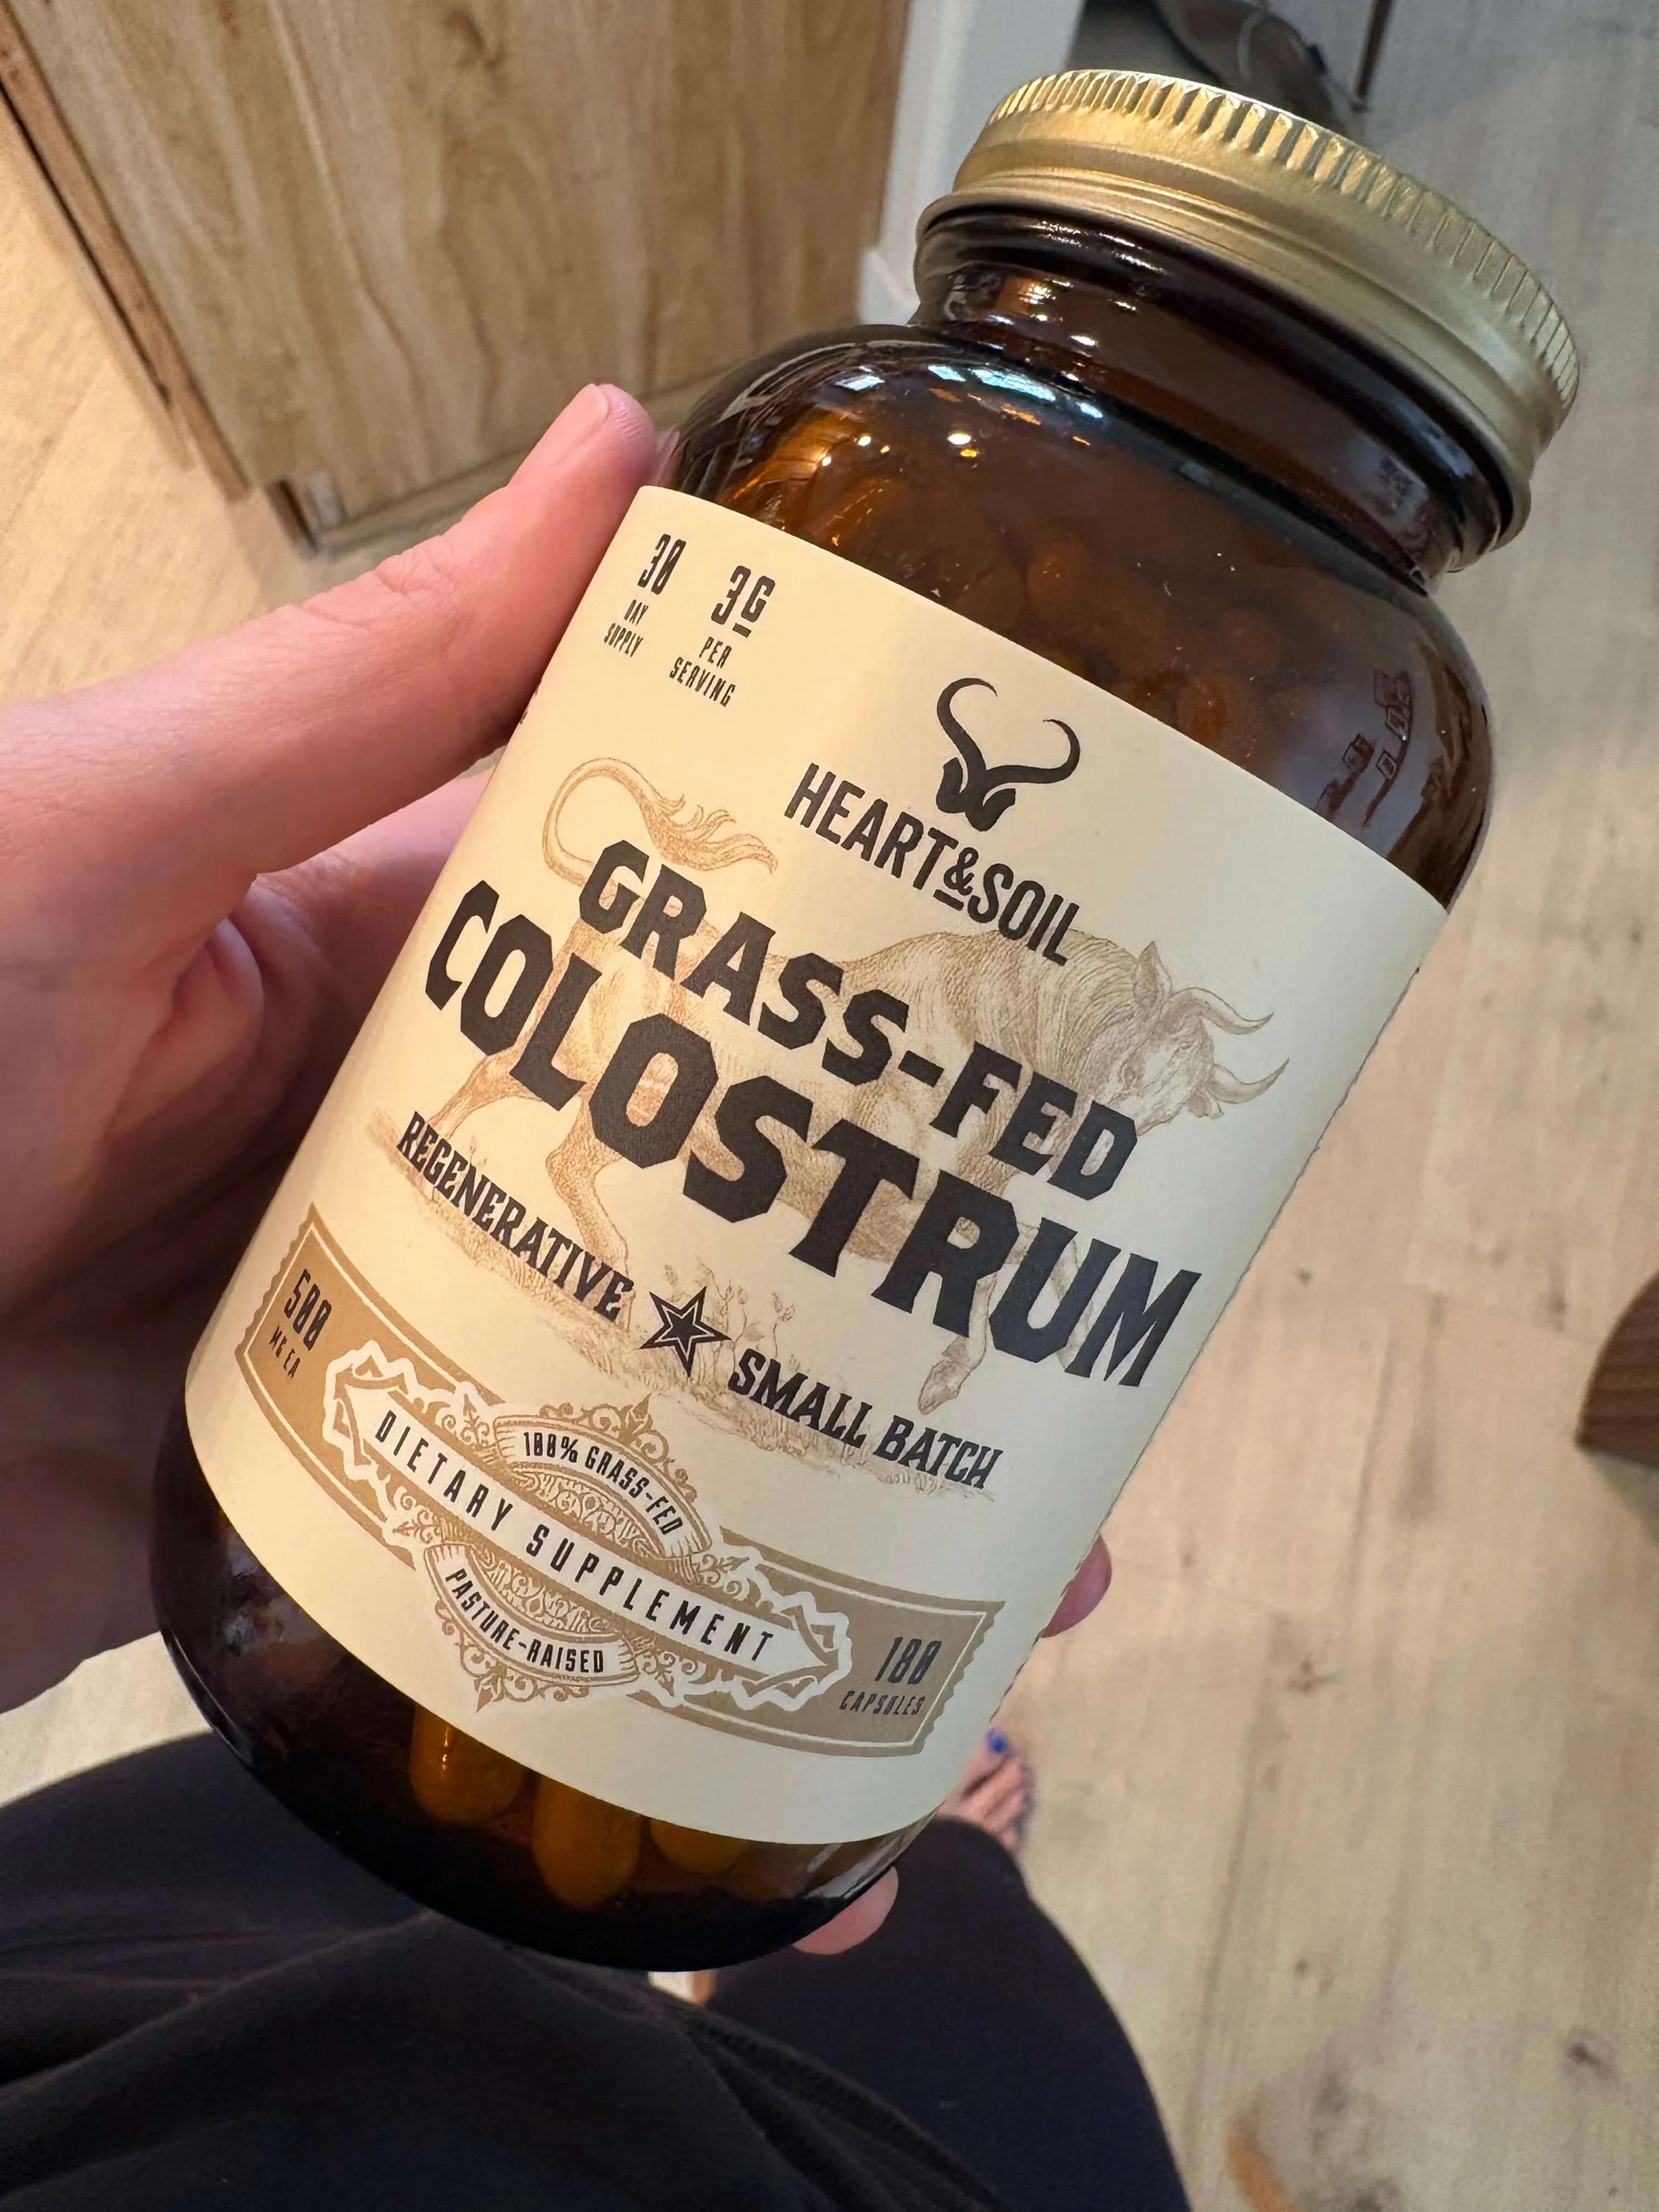
My Favorite Tallow Products
I love making my own tallow— it is actually a lot easier than it may seem (Keep scrolling for the recipe i follow)! But I will admit it’s pretty basic, and sometimes I want something with more of an elevated feel, but still has all the benefits. ya know? 😉
That’s where Primally Pure comes in. My favorite body butters and skincare products and quite a few are tallow-based. My favorite tallow-based products are:
Soothing Cream -this facial cream is so calming and nourishing! I love using it on sunburns, or for my toddler’s eczema
they also have a great tallow-based deodorant. I have super sensitive armpits and end up with a rash when I use baking soda deodorant too many days in row, so usually will alternate between one from Primally Pure and another clean deodorant brand. (*** Edited in 2025 to add— Primally Pure now has a baking soda-free formula for deodorant and it’s amazing!)
You can also use code Kaelyn10 to save 10% on your Primally Pure orders
DIY WHIPPED TALLOW BODY BUTTER RECIPE
What you will need:
100% grassfed and finished suet
slow cooker
Non-comedogenic oil to mix in (jojoba oil is a great option!)
mason jars, or other glass containers (it is helpful if the jar is wide and shallow vs tall and narrow, so that you can easily get the product with your hand- these 8 oz ones would work great!)
high quality essential oils (optional)
How to:

suet pieces cut up and placed in the crock pot!
order/pickup suet- it is important that this is 100% grassfed and finished - you will not have the vitamin and fat ratio you want if the animal has been fed a highly-processed diet with grains and corn
cut suet down into small peices, remove any sinew or gristle and throw into a slow cooker (if you are unable to get some of the sinew or gristle cut out it is okay- when you cook down the fat, all the rest will float up to the top)
cook on low for 5-7 hours. ( I rendered 5 pounds of suet and found that 6 hours was great. The goal is to have all the white peices of fat melted down into a warm golden liquid with any residual pieces floating on the top)
strain through cheesecloth ( for this, I covered the top of my mason jar with cheesecloth and used a hair-tie to secure it. then I used a ladel to transfer the liquid from my slow cooker to the mason jar. I ended up with two large mason jars full of rendered tallow!)
let tallow cool ( if you are wanting a balm-like consistency, stop here and you’re all done! keep going if you want a light and fluffy whipped consistency), as it cools it will become more of a white/cream color
once tallow begins to turn white but is still soft, put into a bowl and use a hand mixer or stand mixer to whip into a fluffy and airy consistency. At this point, add a few tablespoons of another oil that is liquid at room temperature. (I use jojoba oil!) This will keep the whipped tallow from getting solid over time and keeping that light and fluffy texture!
this is also the time I add essential oils in! I just put a few drops into the blender while it’s whipping up. (It also helps to cover the smell in the kitchen a bit 😂😅)
put in glass jar and enjoy! *Make sure to always use clean and dry hands to keep tallow from spoiling and it will typically be good for 6 months to a year!
If you are struggling with a skin condition- whether it is small blemishes, cystic acne, keratosis pilaris, eczema, or anything else- remember, that most often there is an underlying root cause internally. This means that the most effective approach is one that views the body from a holistic lens and can support your body as an entire system! This will help to tackle the actual root of the issue, and prevent your body from struggling again with the same symptoms in the future.
If you are looking to work with someone to improve your holistic health, I would love to chat with you! You can always contact me by my coaching page, or by email at hello@wellnesswithkaelyn.com
I always love to hear from you!
Kaelyn
latest on the blog

Luxury linen bedding without the luxury price tag? I tested Quince's popular European linen sheets to see if they're truly worth the hype—or just another viral home trend.